Remove EFI Partitions
Open the diskpart tool at the command prompt.
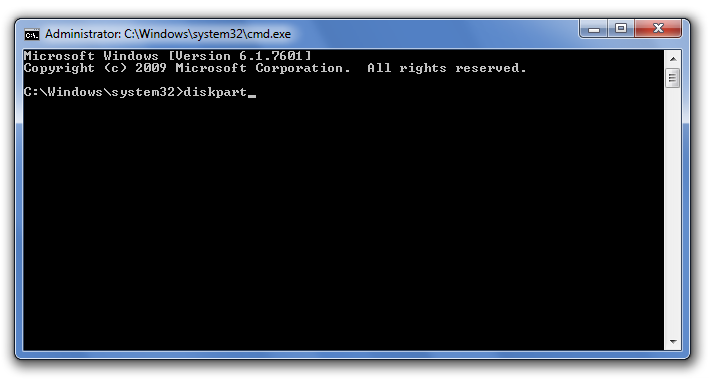
This should display the DISKPART command prompt. The first command we should use is list disk that should display the list of the disks currently connected to the computer:
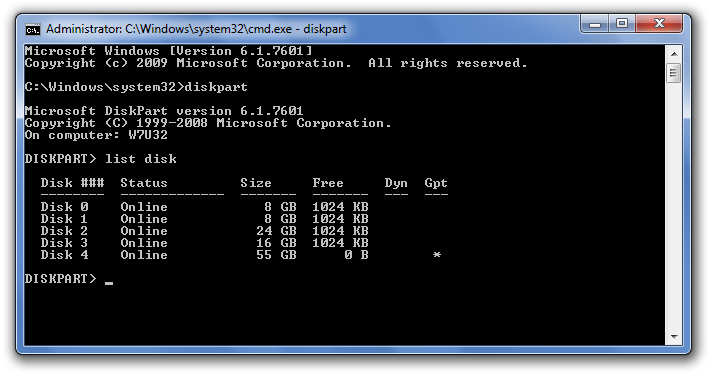
It's very important to properly identify the disk we want to work with in the list. Our 60 GB disk is still listed as Disk 4 with the capacity 55 GB. Once we are sure that this is the disk we want to re-initialize, we need to select it, by entering the command select disk 4 (yes, that's how selection is usually done when using the command line tools!). Then, let's use the list disk command again, to confirm that the disk in question is indeed now selected:

After double-checking that Disk 4 is now selected (it should have the star character * in front of its label), it's time to finally issue the command that will erase everything on the disk 4, including the protected partition. The command that does that is clean. Note that this command erases everything on the selected disk, all partitions, protected or not. If you still have files on other partitions of disk 4 that you want to keep, you should exit now and backup those files, because after using the clean command all such files will be erased without a trace!

After the clean command is done (it should take no more than a few seconds), we get a fresh disk with all partitions erased. We can exit the DISKPART command prompt (by typing exit into its command line), and go back to the Disk Management tool (see above how to open it.) When it starts, it automatically detects the presence of the clean disk and prompts us to initialize it: